install.packages(c(
  "tidyverse",
  "readxl",
  "camtrapR"
))Getting Started
Introduction
Before we start working with R, we need to install two programs: R and RStudio.
Although we will use RStudio most of the time, R and RStudio are not the same thing. R is the program that actually runs our code, while RStudio provides a more convenient interface for writing code, organizing files, viewing plots, and working with data.
Because RStudio needs R to work, we will install R first and RStudio second.
If you already have both installed, you can skip directly to the section on Installing the packages.
Install R
The first step is to go to the R Project website and select download R.
You will be redirected to a list of CRAN mirrors. These are simply different servers from which you can download R. You can choose a mirror located close to you, although any of them should work.
Next, choose the installer that corresponds to your operating system.
Important
If you already have R installed, downloading it again will update it. Keep in mind that when you update R, you’ll have to reinstall all the packages (we’ll see what R packages are later).
Windows
If you are using Windows:
- Select Download R for Windows.
- Select base.
- Download the most recent version of R.
The version number will change over time, so do not worry if the version displayed on the website is different from the one shown in this tutorial. Just download the most recent stable version.
Save the installer somewhere you can easily find it, such as your Downloads folder.
Open the installer you just downloaded.
For our purposes, you can simply follow the installation steps using the default options. There is normally no need to change the installation folder or any other settings.
Once the installation is complete, you should be able to find R among your installed applications.
You may see an icon similar to the R logo
If you open R directly, you will see a relatively simple window containing the R Console.
You can write and execute R code directly here. The truth is that R itself isn’t very user-friendly at first glance. In fact, I never use the base R. For this reason, we’re going to install a more user-friendly interface called RStudio.
macOS
If you are using a Mac, the process is very similar.
From the R download page:
- Select Download R for macOS.
- Download the most recent version compatible with your computer.
- Open the downloaded .pkg file.
- Follow the installation instructions.
Recent Macs use Apple silicon processors (M-series such as M1, M2, M3, etc.), while older Macs may have an Intel processor. Make sure you select the appropriate installer for your computer.
If you are not sure which processor you have, go to:
Apple menu → About This Mac
and check the information listed under Chip or Processor.
Once the installation is complete, R will be available on your computer.
If you open R directly, you will see a relatively simple window containing the R Console.
You can write and execute R code directly here. The truth is that R itself isn’t very user-friendly at first glance. In fact, I never use the base R. For this reason, we’re going to install a more user-friendly interface called RStudio.
Installing RStudio
Now that R is installed, we can install RStudio.
Download Rstudio
Go to the Posit website and select the option to download RStudio Desktop.
Posit is the company that develops RStudio. There are several versions of their products, but for this course we only need the free version of RStudio Desktop.
The download page should automatically suggest the appropriate installer for your operating system.
Windows
Download the Windows installer (.exe), open it, and follow the installation instructions.
Again, the default options are appropriate for what we need.
Mac
Download the macOS installer (.dmg).
Open the downloaded file and move RStudio to your Applications folder when prompted.
Open Rstudio
Once everything is installed, open RStudio.
There may seem to be a lot happening on the screen, but don’t worry! We will go through the different parts of RStudio in the first module.
Believe me, RStudio makes life so much easier for those of us who aren’t programmers. It helps with autocompletion for functions and objects, and it also has many extensions that expand R’s capabilities. That’s why I recommend that you always work in RStudio—you won’t regret it 😉.
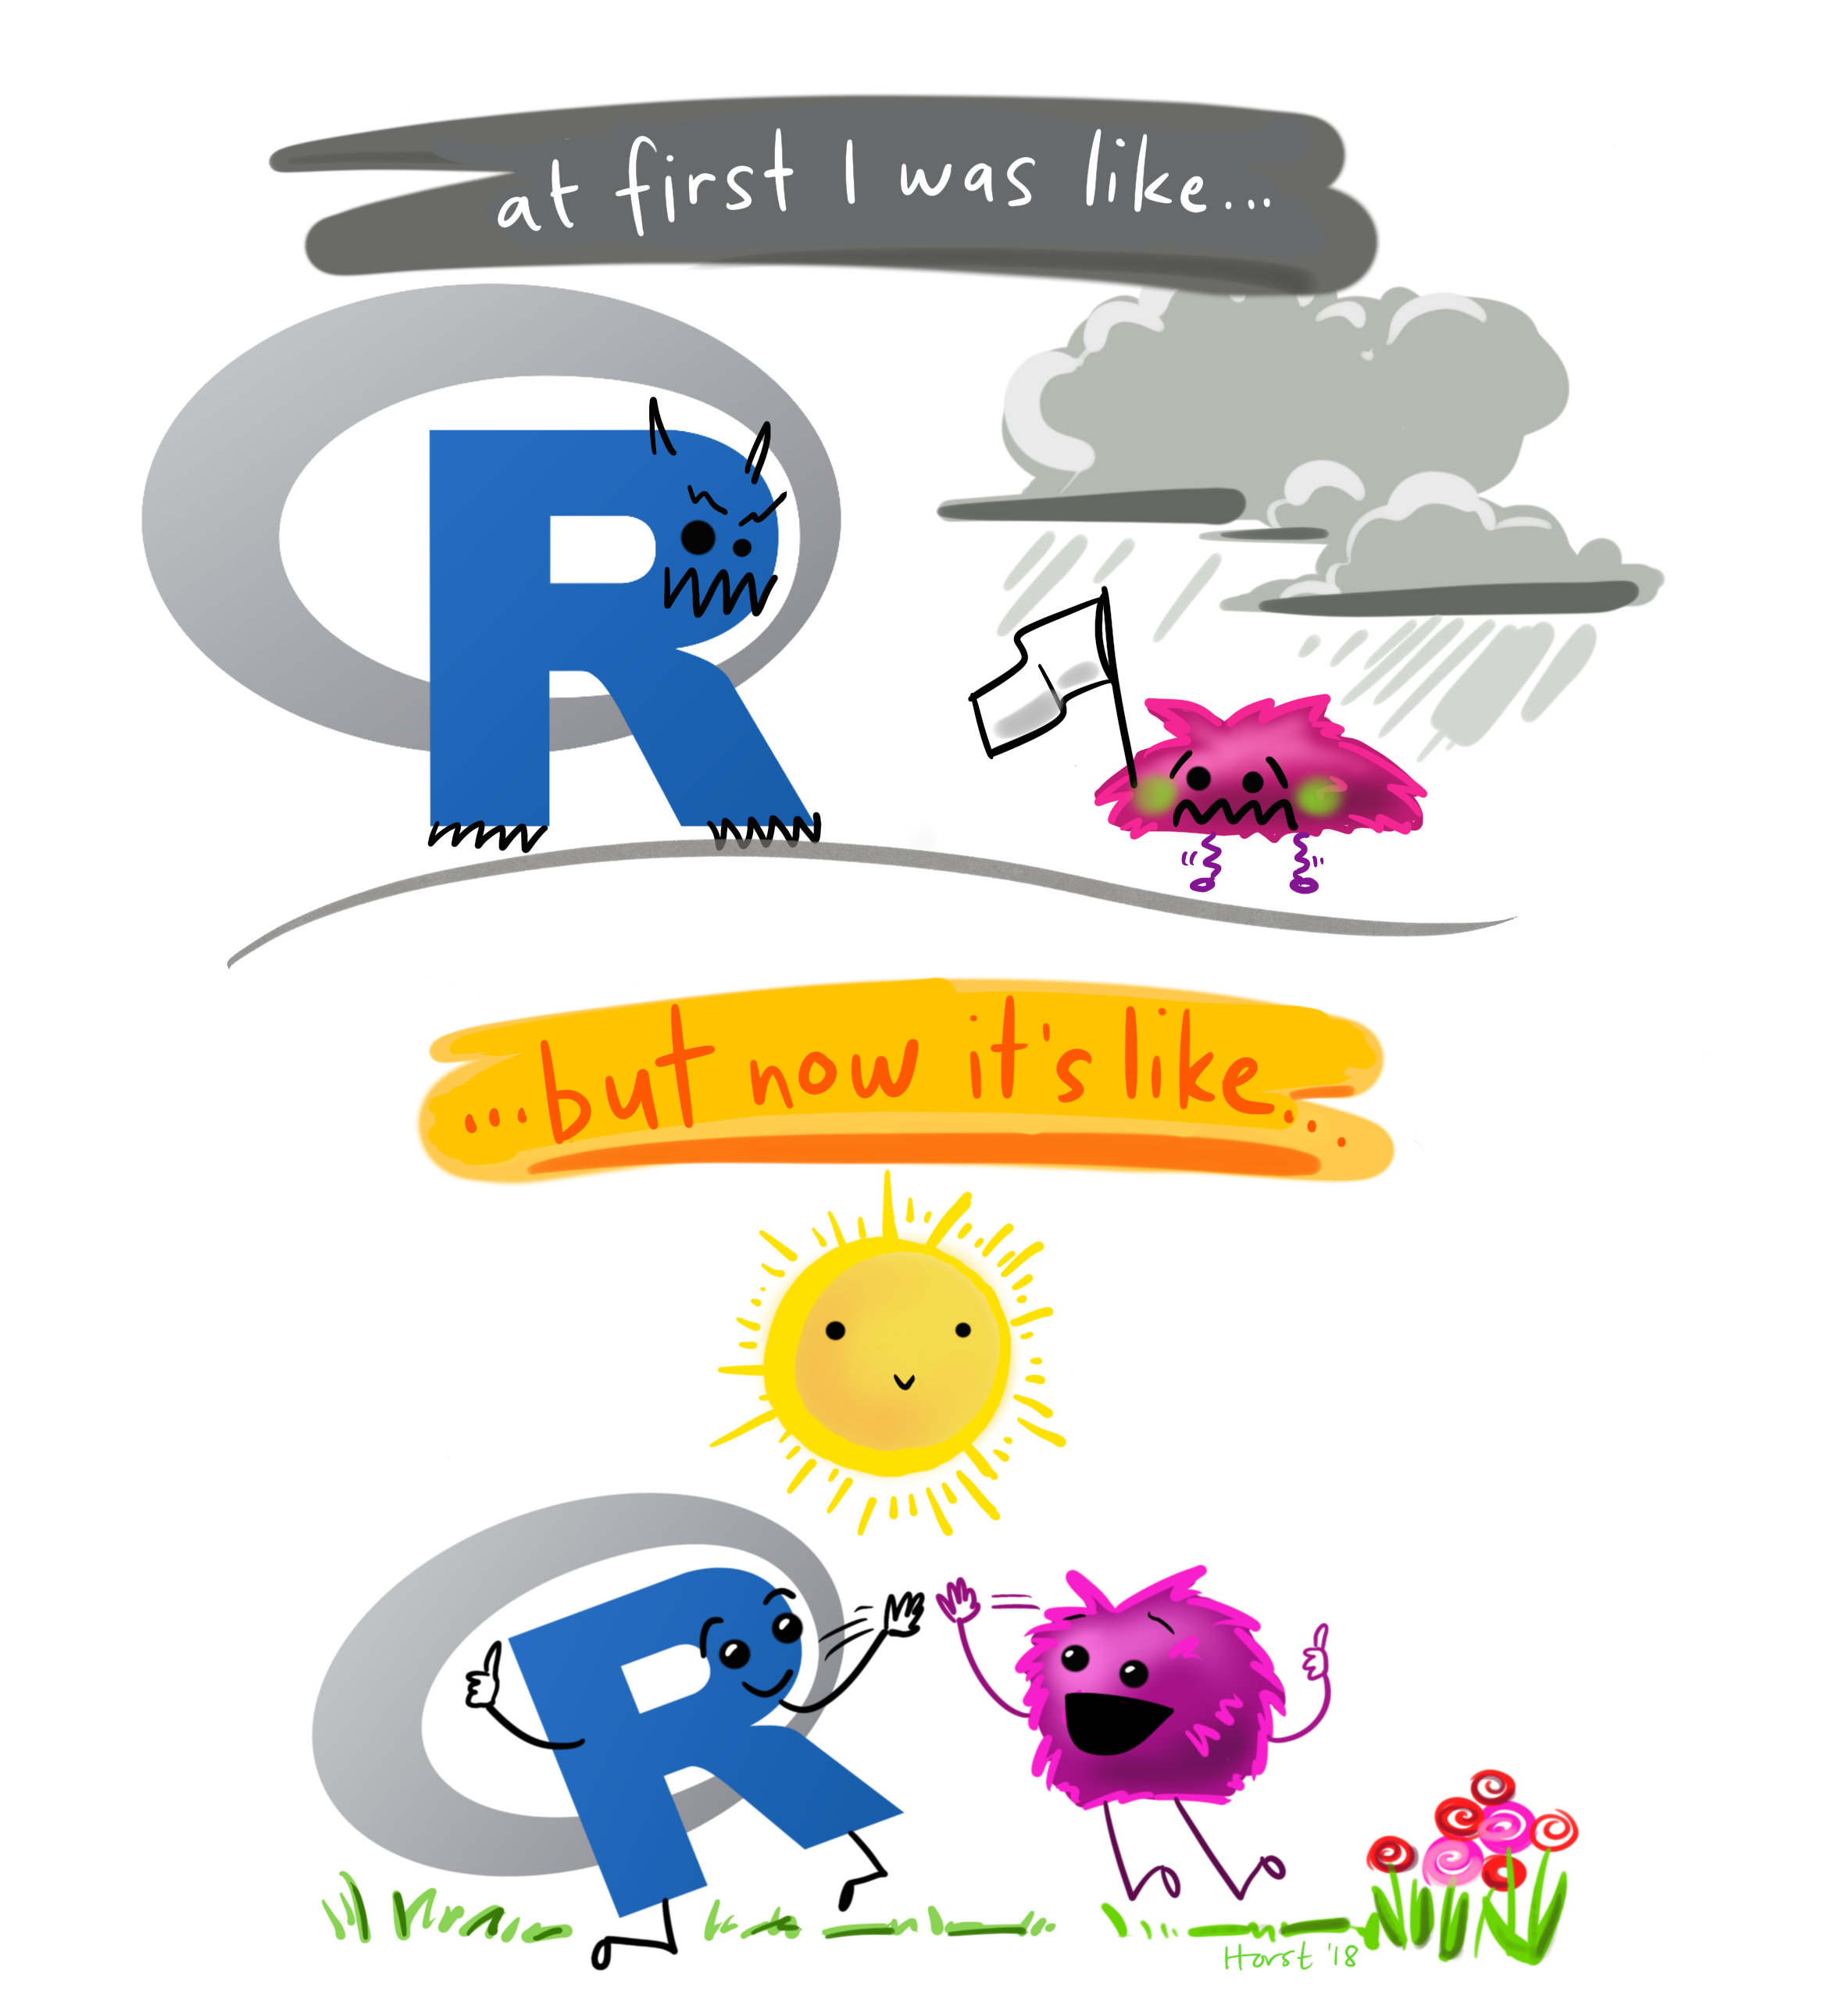
For now, we only need to make sure that R and RStudio are communicating correctly.
Find the Console and type:
2 + 2
Then press Enter.
R should return:
[1] 4
If you get 4, congratulations 🎉 — R and RStudio are working!
Installing packages
R already comes with many features and functions, but the big advantage is that we can add even more functions using packages.
R packages are an additional collection of tools, most of which are specialized for a specific task. Throughout this course, we will use several packages for importing data, manipulating datasets, creating figures, and eventually working with camera-trap data.
We can install packages directly from the RStudio Console using the function install.packages().
Copy and run:
R may take a little while to install everything. You will probably see quite a lot of text appearing in the Console while packages and their dependencies are downloaded and installed. That is normal.
Important
Installing vs. loading a package
We normally need to install a package only once:
install.packages("tidyverse")However, installing a package does not automatically make it available every time you open R.
When we want to use an installed package during an R session, we load it using library():
library(tidyverse)We will talk more about packages and functions later in the course.
Is everything working?
Let’s do one final check.
library(tidyverse)
library(readxl)
library(camtrapR)
Do not be surprised if some text appears in the Console after running library(tidyverse). Packages often display messages when they are loaded, and a message is not necessarily an error.
If all three packages load without an error saying that the package cannot be found, you are ready to start.
Ready!
At this point you should have:
R installed RStudio installed the packages required for the course installed successfully run your first R command
That’s all we need before starting Module 1: Introduction to R and RStudio.